Showing posts with label flannel. Show all posts

Friday, June 17, 2011

Cloth Diaper Trial 1

I have been reseaching about cloth diaper since I had my first baby but never got around it. I only managed to buy one pocket diaper without any soakers and snappi but never used it. The ones sold outside was quite expensive. Especially the imported ones but pretty and cute non the less. It is very tempting but my reason for cloth diapering is to save $$$. Ermm honestly environment is secondary. I guess once I get the hang of it my stance might change but for now it is what it is (err sounding guilty here? hehe). Now that baby no 2 is coming just around the corner, I thought why not? And being able to sew this time around helps with the decision too.


With all the different kinds (prefold, contour, fitted, pocket, AIO, AI2 etc) I was confused and that didn't make it any easier with different materials to choose from. Where do I get these material as they are so specialised and not easily attained in Malaysia? After much research and advice from CD users, I got to know websites in Malaysia like Tiny Tapir, Facebook groups (preloved and CD making groups) and LampinKain to name a few.


I have come to easiest and most economical conclusion which is to make fitted, prefold and cover diapers for now. And to use flannel as my pilot project.


A friend recommended to use the online RRP free patern. Love it! Just for fun I also printed the Wee Weka free pattern, picked randomly.


The fitted diaper made from el cheapo flannel

Also made my version of extended prefold


I also purchased the snap press and resin snaps. I haven't install it on any of the CD because I don't know how it is going to fit or work with DD later. I didn't get the industrial heavy duty one since its just for my own use.


Wanted to add the snaps yesterday but just couldn't do it. Need more courage and thinking I guess. Afraid that it will be less adjustable. How how? Hehe


Sunday, April 17, 2011

Rag blanket


So, this is what I have been up to lately. Other than work and going away on an outstation trip for work at 7 months preggy, yes yes...I was busy with this. Constructing my very first quilting project and a rag blanket for my soon to arrive nephew. Anytime soon.....I used flannel on both sides. I used 4 long quarters that makes up to about 1 metre of 4 different flannel design and for the back I only had white plain flannel. So I added the different thread colour straight stitch around which makes up 6 squares.


The helpful tutorial.

This project is great for a first timer as it does not require a perfect seam and a bit messy is acceptable because it won't show after the clipping and washing is done to fray the sides.


I cut the front and back 10" square and laid them out to make sure all the squares are in place and pin each one together.


This is how it looks close up after stitching, clipping and fraying is done.


An even closer look above.


Since the back was plain I added the straight stitch in different thread colour. Total of 6 squares of different sizes.


I had to stitch each 10" squares separately and when I sew them together, the lines didn't really match. La la la la la....I wish I can say it was meant to be. :P

Lastly a bit on work, I dragged hubby and daughter with me to Terengganu for work. Thanks to both my lovely dearies for the support, understanding and love to accompany a 7 months preggy mommy 500km away from home. You notice Nia wearing the Pinafore dress peeping at me at the back through the mirror. How can I not adore this little person.
And can't help asking her to pose at the hotel balcony wearing the flowery yellow blouse.

Wednesday, May 12, 2010

I want one too..

As I mentioned in my last post, I made this for a friend. I really like it. Infact, everyone who has seen it thinks its really nice. Thanks all for making my day. A flannel blanket for a baby girl. Hopefully the baby will want to use this. Nia hates blankets. She'll kick and squirm in her sleep until blanket is off her body.

It's really easy to make. I cut the 2 fabric about 1 metre by 1 metre. Sew them together from the wrong sides. Leave 5 inches to turn inside out and sew along the sides about 1/8" seam allowance once this is done. You've made yourself a blanket. I used the rotary cutter, cutting pad and the ruler for the first time after buying it 2 months ago.


Both sides are nice.

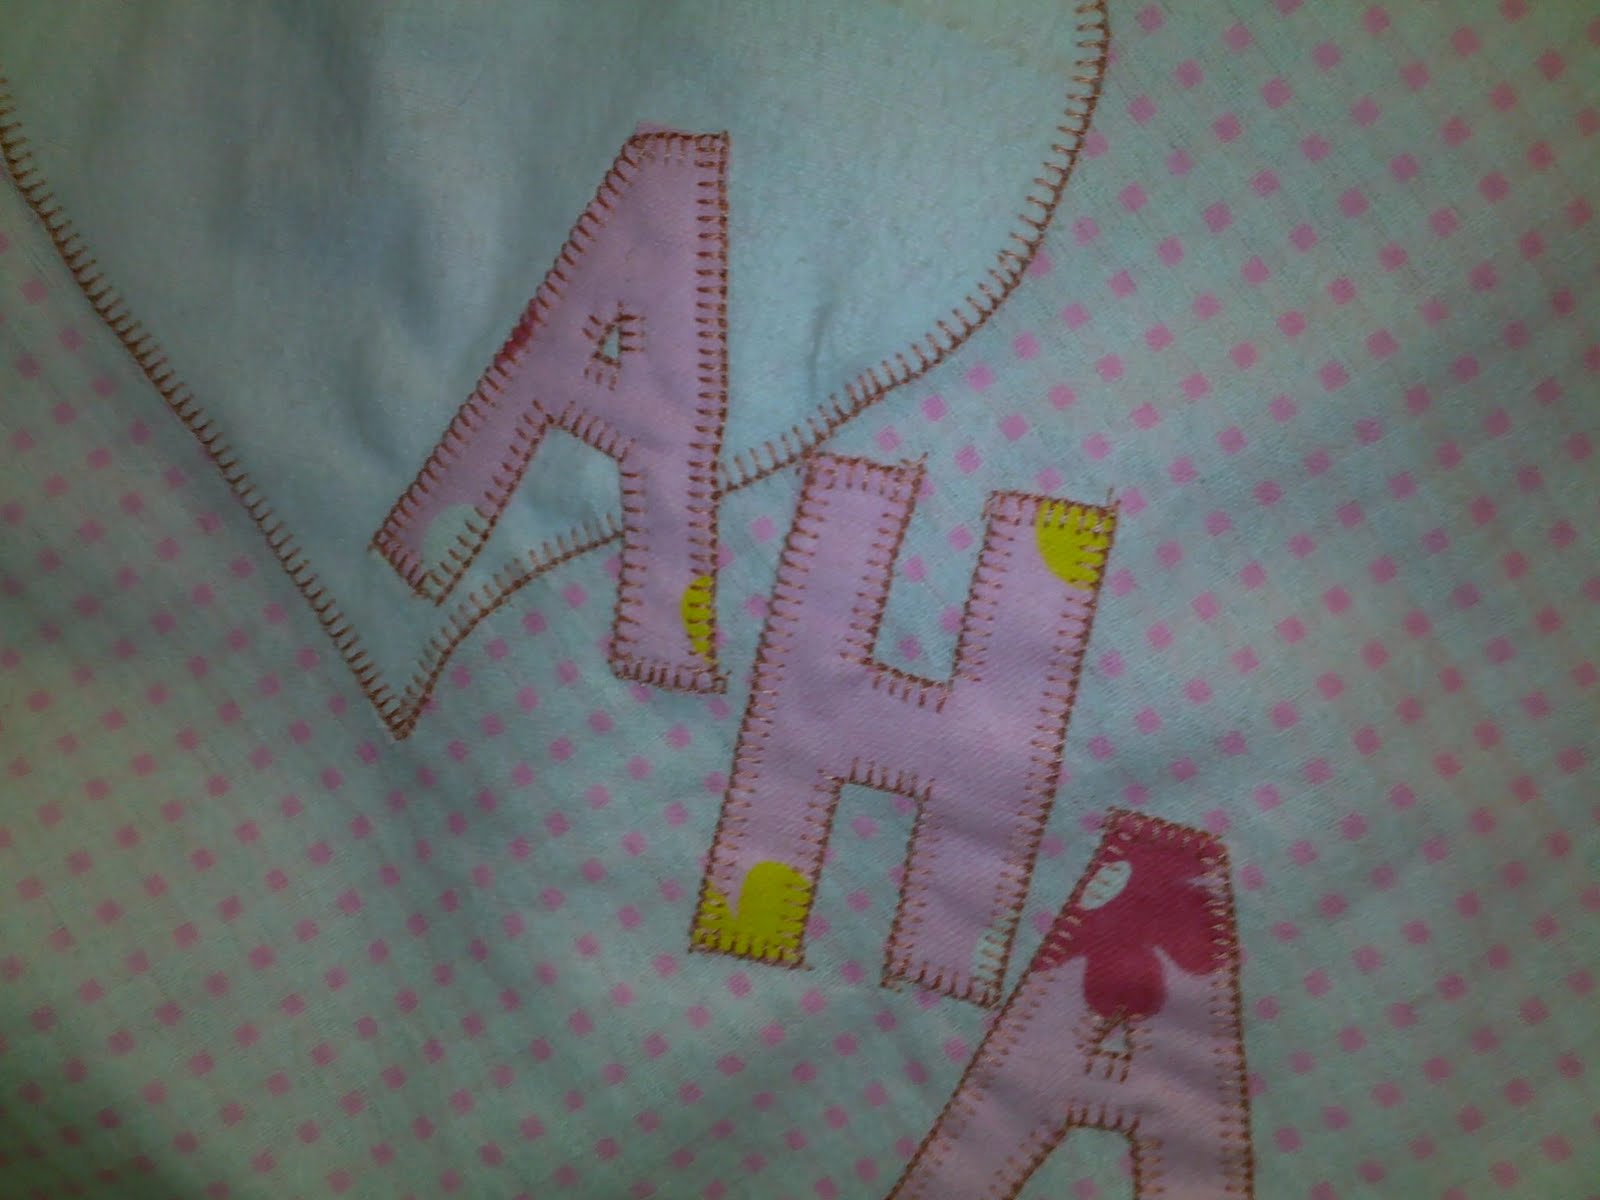
I added the baby's initial. Cut the alphabet and heart shape using white and pink flannel fabric.

And sew the applique stitch around it. This is done before the two layers are sewn together.